| “This site contains affiliate links for which OEMDTC may be compensated” |
| SUBJECT:
CHIRPING NOISE FROM DRIVE BELT | No: TSB-07-11-005 |
| DATE: August, 2007 | |
| MODEL: 2006 – 2007 Raider |
PURPOSE
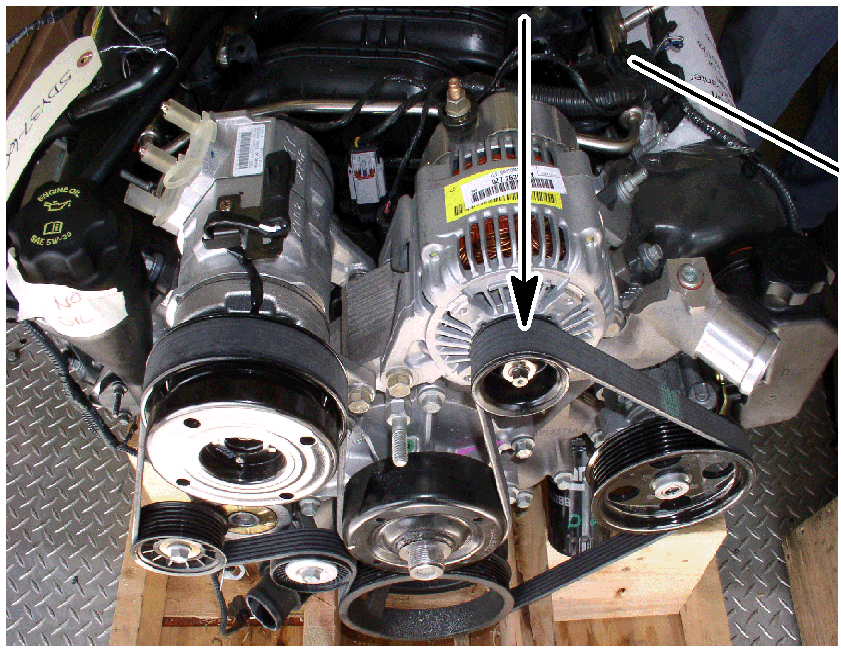
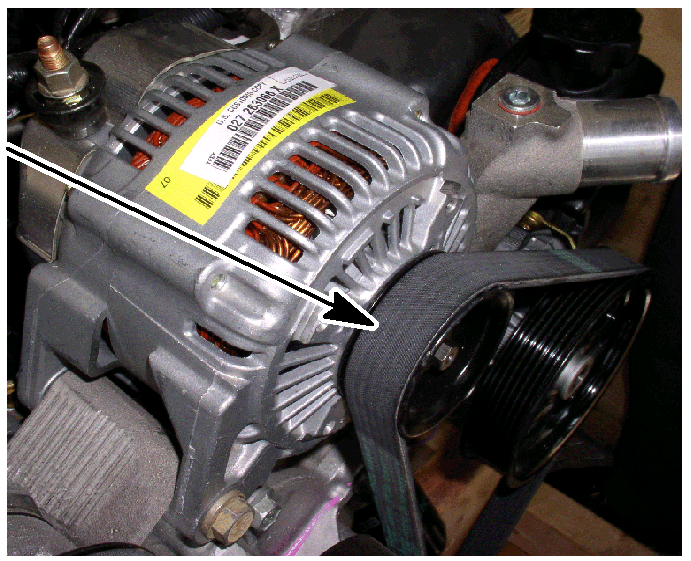
On some affected vehicles, the accessory drive belt may make a chirping sound when the steering wheel is turned to full lock (typically during parking maneuvers). To eliminate this condition, replace the alternator pulley with a new, improved pulley equipped with an overrunning clutch, listed in the PARTS INFORMATION section of this bulletin.
AFFECTED VEHICLES
2006 – 2007 Raider models equipped with 3.7L engine
PROCEDURE
- Confirm that the chirping noise occurs when the steering wheel is turned to full lock.
- Record the radio presets and disconnect the negative battery cable at the battery.
- Loosen the accessory drive belt. Then remove the alternator:
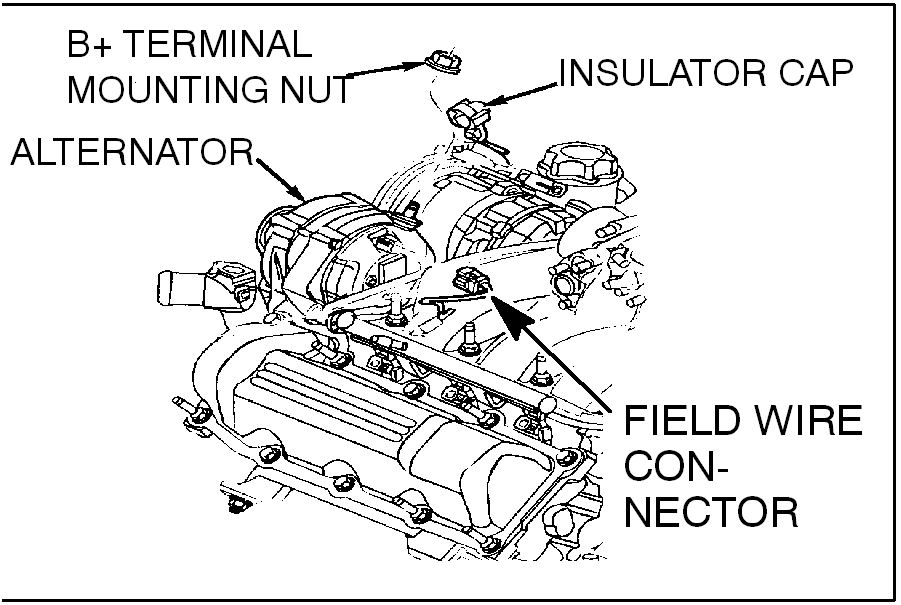 | a. Unsnap the plastic insulator cap from the B+ output terminal.
b. Remove the B+ terminal mounting nut at the rear of the alternator. Disconnect the terminal from the alternator. c. Disconnect the field wire connector by pushing on the connector tab. |
- Remove the alternator pulley.
- Install the appropriate quantity of spacers to achieve proper alignment of the overrunning pulley and the accessory drive belt, and between the pulley and the alternator housing. Then install the new pulley.
If the spacers are not correctly installed, the alternator and/or belt will be damaged.
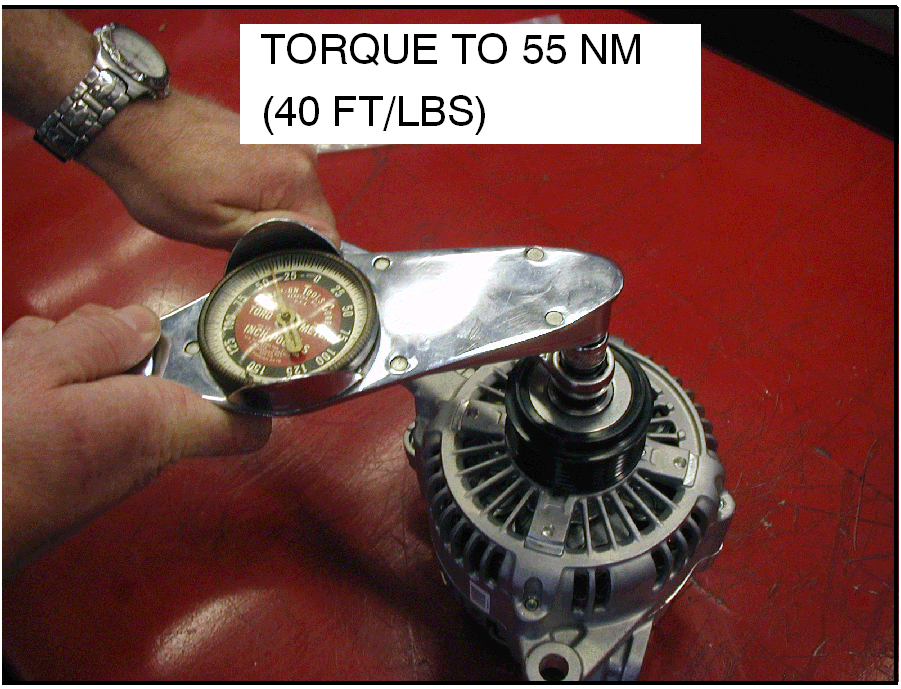 | 6. Using special tool MB992226, Serrated Socket, tighten the pulley to 54 Nm (40 ft/lbs).
7. Install the plastic insulator cap on the pulley. |
- Reinstall the alternator:
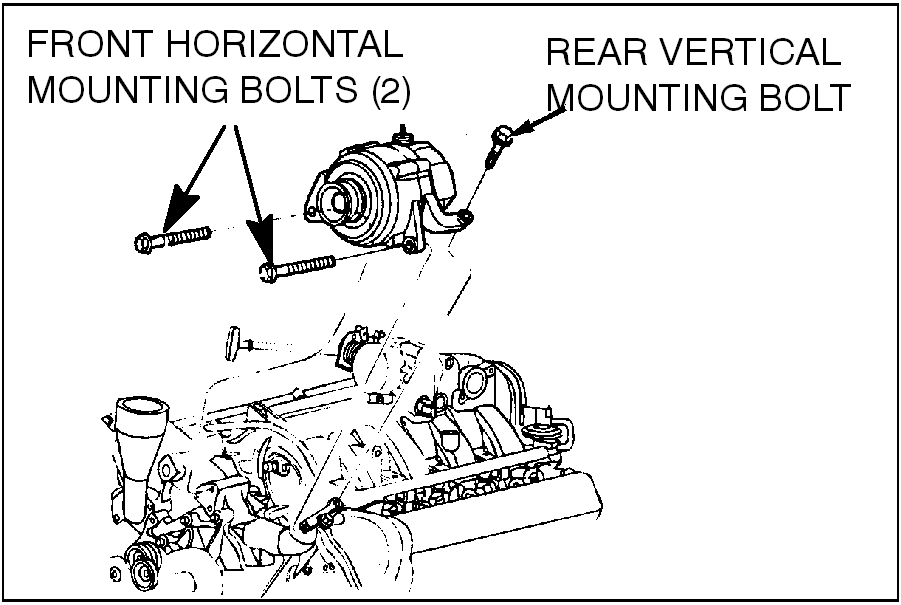
- Install the two horizontal bolts and one vertical bolt. Tighten the long horizontal and the vertical mounting bolts to 55 Nm (40 ft/lbs) and tighten the short horizontal mounting bolt to 74Nm (55 ft/lbs).
- Install the field wire connector into the rear of the alternator.
- Install the B+ terminal eyelet to the alternator output stud. Tighten the mounting nut to 12 Nm (108 in/lbs).
- Reinstall the accessory drive belt.
- Reconnect the negative battery cable and reprogram the radio presets.
PARTS INFORMATION
| Description | Part Number | Quantity Required |
|---|---|---|
| Alternator Pulley | 05170529AA | 1 |
| Spacer | 05170528AA | As needed |
WARRANTY INFORMATION
| Alternator Pulley Replacement | ||
|---|---|---|
| Nature Code: 80L | Cause Code: 600 | |
| Labor Operation No. 08050197 | Time Allowance: 0.5 hr. | |
| Warranty Coverage: Basic coverage (5 years / 60,000 miles) | ||
| Special Warranty Information: The above repairs are to be performed on a customer complaint basis only. Normal warranty procedures apply. | ||
 Loading...
